From your first heading change to your own approach plate. Practical help, straight from the app.
No matching guide.
Try a simpler term, such as “plate”, “wind”, “course” or “purchase”.
01 / GETTING STARTED
Your first five minutes.
Start with a simple goal: connect what you change on the instrument with what the simulated aircraft does on the map.
Open HSI and find the aircraft. The instrument shows your heading, selected course and navigation indications; the map gives you the bigger picture.
Set a speed above zero. The aircraft moves according to heading, airspeed and the configured wind. Start at normal speed.
Move the heading bug. Drag it around the outside of the HSI. Watch the aircraft turn towards the selected heading.
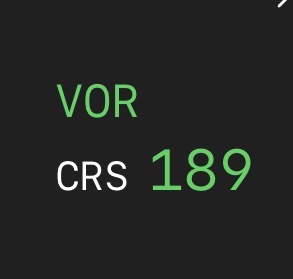
Change the course. Rotate the course pointer, or tap the course readout to enter a precise value. Observe how the CDI responds.
Try, observe, repeat. Use the map to understand the geometry before hiding it for an instrument-only exercise.
Want a guided introduction? Open the app’s Help → Getting Started and replay the First Flight Tutorial.
This website explains the app’s controls. Use your instructor and applicable training references for operating procedures and interpretation.
02 / INSTRUMENT CONTROLS
Get hands-on with the HSI.
Heading bug
Drag the bug around the outer edge to select a desired heading. The simulated aircraft turns to follow it.
Course pointer
Rotate the pointer, or tap the course value near the bottom of the HSI to type a precise course.
DME readout
Tap the distance readout and enter a value to reposition the simulated aircraft at that distance.
VOR / ILS selector
Use the mode selector at the bottom of the instrument. In ILS mode, the localiser course comes from your configured plate.
Unlock the other instrument controls
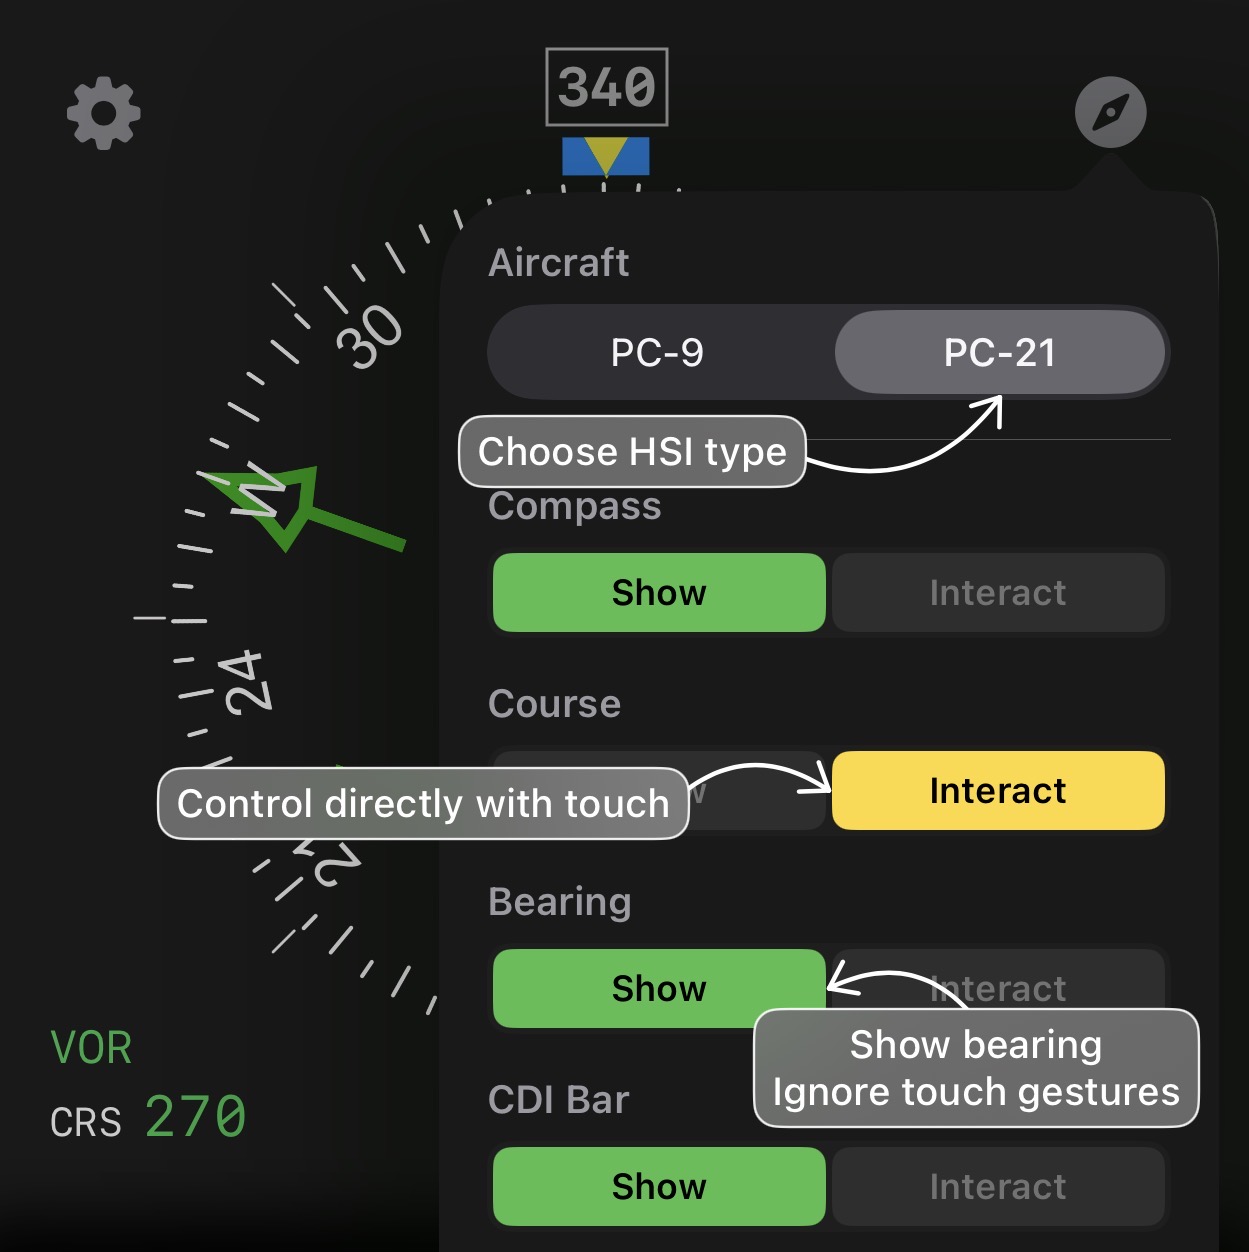
Open the HSI settings using the gear icon. Enable the relevant Interact controls to manipulate the compass, bearing pointer or CDI bar. These controls can reposition or reorient the simulated aircraft, making a concept easier to demonstrate.
If a needle won’t drag, check its Interact setting first. You can also choose the traditional PC-9 or modern PC-21 instrument style and show or hide individual elements.
Heading controlCourse controlHSI settings
03 / MAP & MOVEMENT
Control the scenario.
Move around the chart: drag to pan, pinch to zoom, or double-tap to zoom in.
Reposition the aircraft: drag its icon. If it won’t move, turn off the map’s lock control.
Set the conditions: use the wind control to choose direction and speed.
Change the pace: select an airspeed and use the speed ramp for normal, 2×, 5× or 10× playback.
Follow the aircraft: use the tracking control to cycle through the available follow modes.
Time a leg: use the stopwatch to start, stop and reset your timer.
Practise without the picture: Hide Map blurs the map for instrument-only work.
Hide tracks ≠ clear tracks. Show/Hide Tracks changes their visibility. Clear Tracks deletes the flown track history.
Missing map controls?
Tap the eye icon near the top of the map to show or hide the buttons. Map Options also lets you configure the long-press behaviour.
04 / PDF APPROACH PLATES · PRO
Bring your own approach.
Import a PDF chart and configure it so the simulated aircraft and instrument line up with the procedure you want to rehearse.
1. Import the PDF
Open the Plates panel and tap + to choose a PDF from Files. You can also share a PDF to HSI using the iOS share sheet in Files or Safari.
2. Name it and set the basics
In the setup wizard, give the plate a useful name, enter its magnetic variation and set the published localiser inbound course when applicable.
3. Configure the navaids
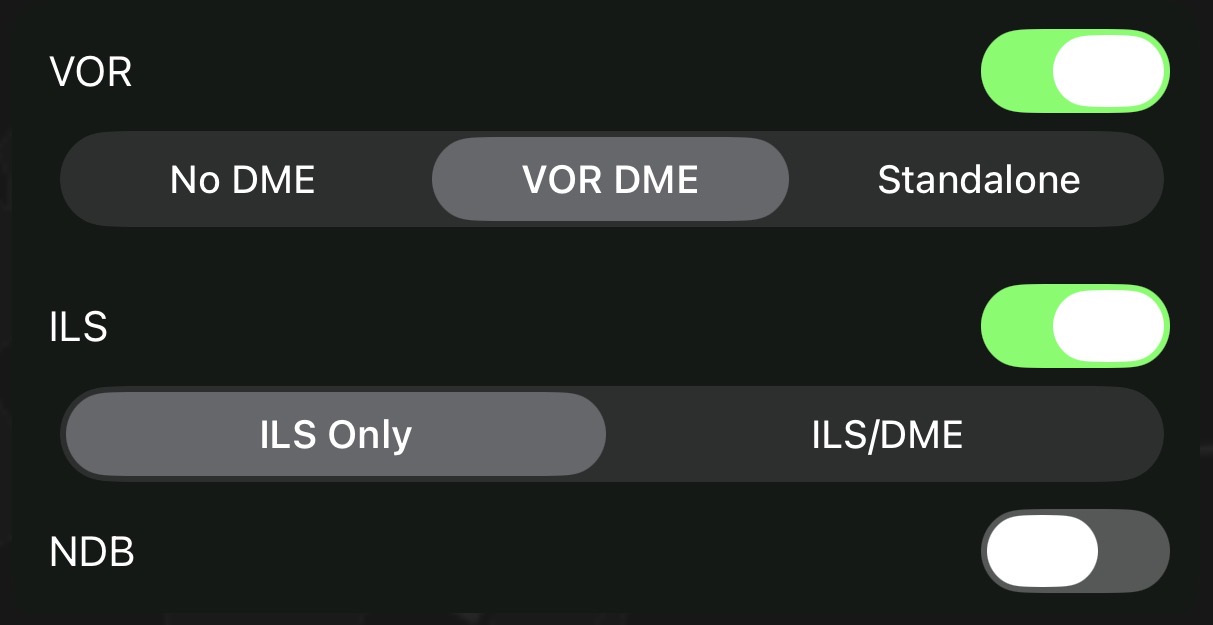
Select and configure the navaids required by the chart: VOR, ILS, NDB or DME. DME can be standalone or co-located with another navaid.
4. Align the chart and scale
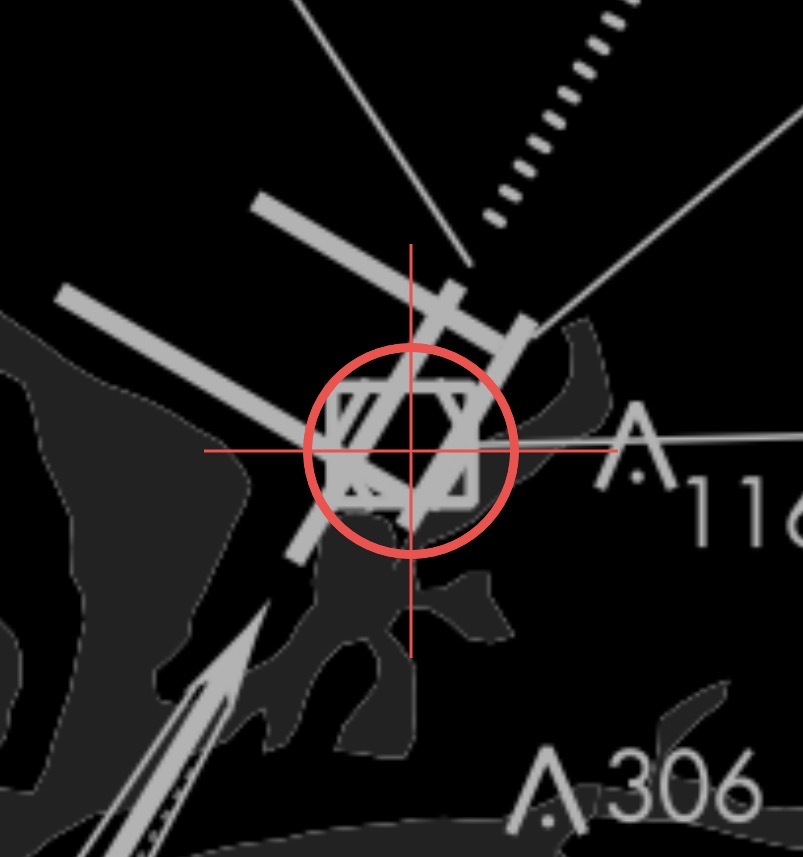
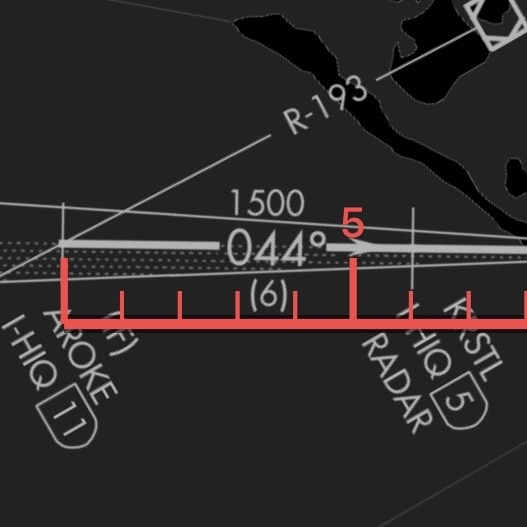
Position the crosshair over the corresponding navaid on the PDF. Pinch to zoom for precise placement. Use the ruler to set the scale; rotate the chart as needed during alignment.
5. Select it and check the picture
Choose the saved plate in the Plates panel. Confirm the instrument and map respond sensibly before beginning the exercise. If radial indications don’t match your setup, recheck the navaid alignment and magnetic variation.
Configure the navaidsAlign the crosshairSet the chart scale
To manage saved plates, swipe left to edit or delete, and drag to reorder. Plate import requires HSI Pro. Charts shown in app artwork are illustrations, not navigation references.
05 / HOLDING PRACTICE
Make the entry picture clear.
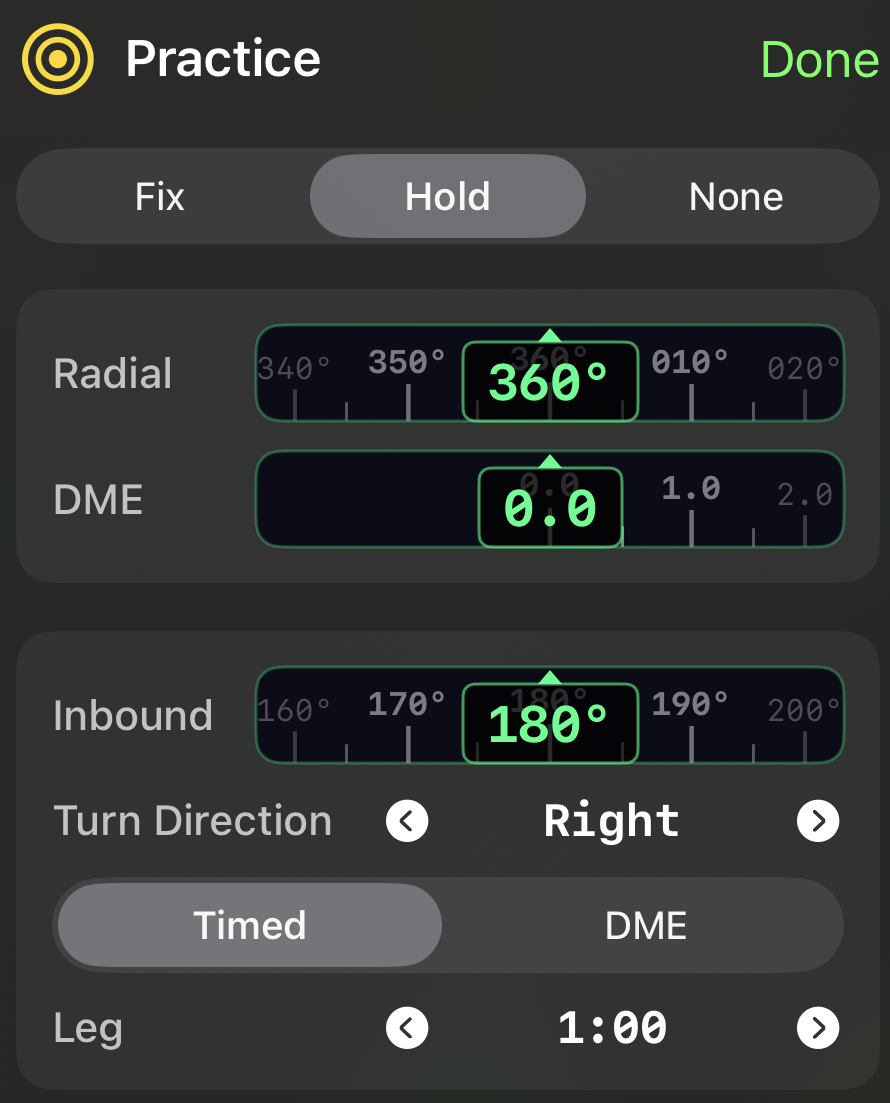
Tap the target icon on the map and select the Hold tab.
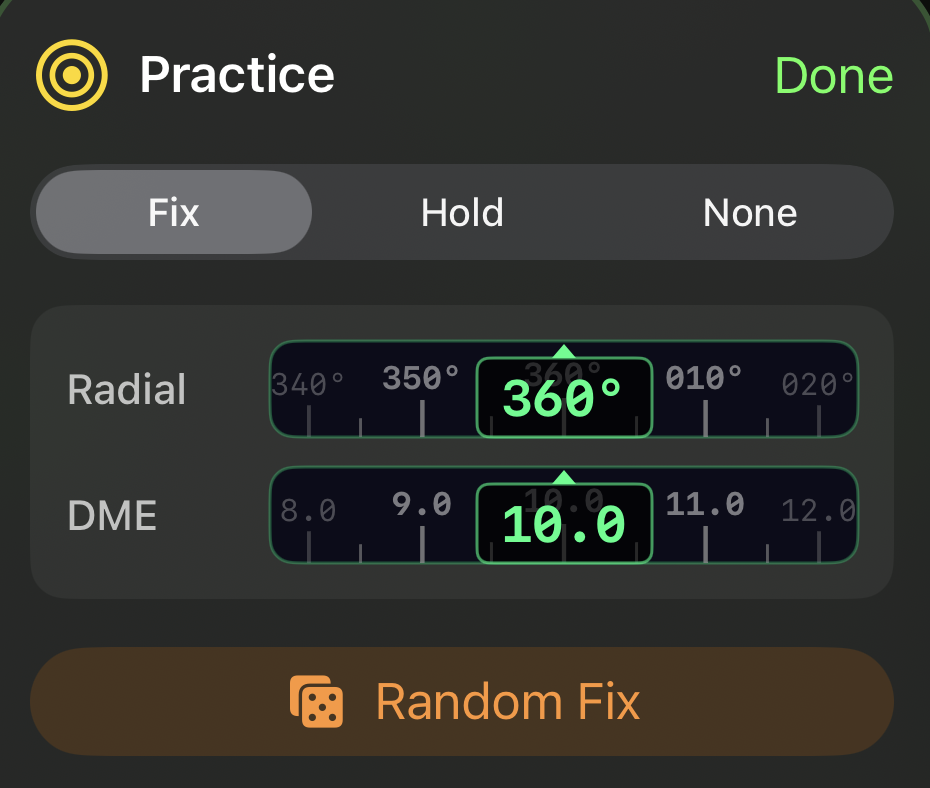
Set the fix using its radial and DME. These values are shared with Fix mode.
Enter the hold’s inbound course and choose right or left turns.
Choose Timed or DME legs and enter the leg value.
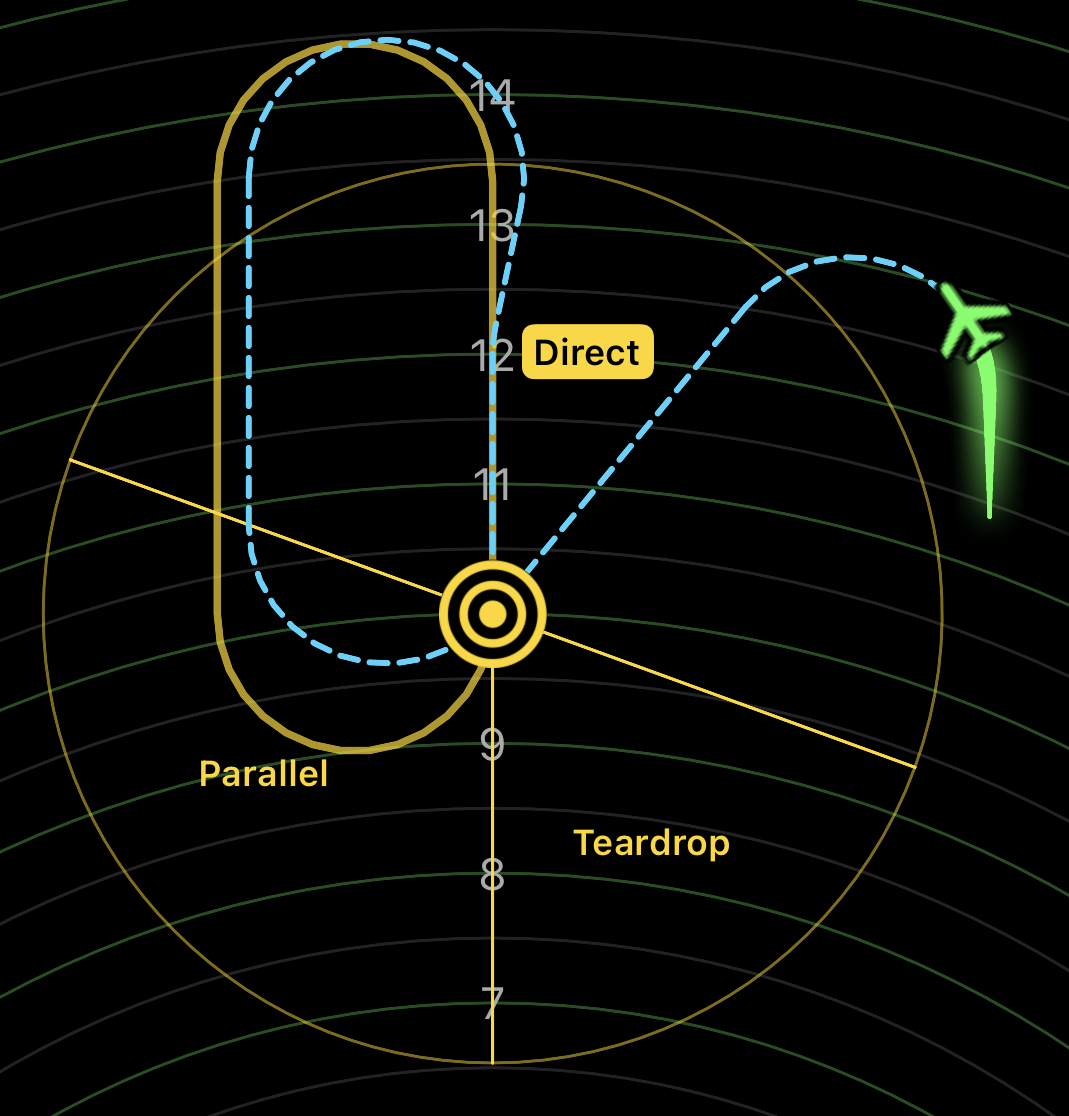
Enable Sectors to show the entry boundaries. Enable Entry guide to add guidance paths on the map.
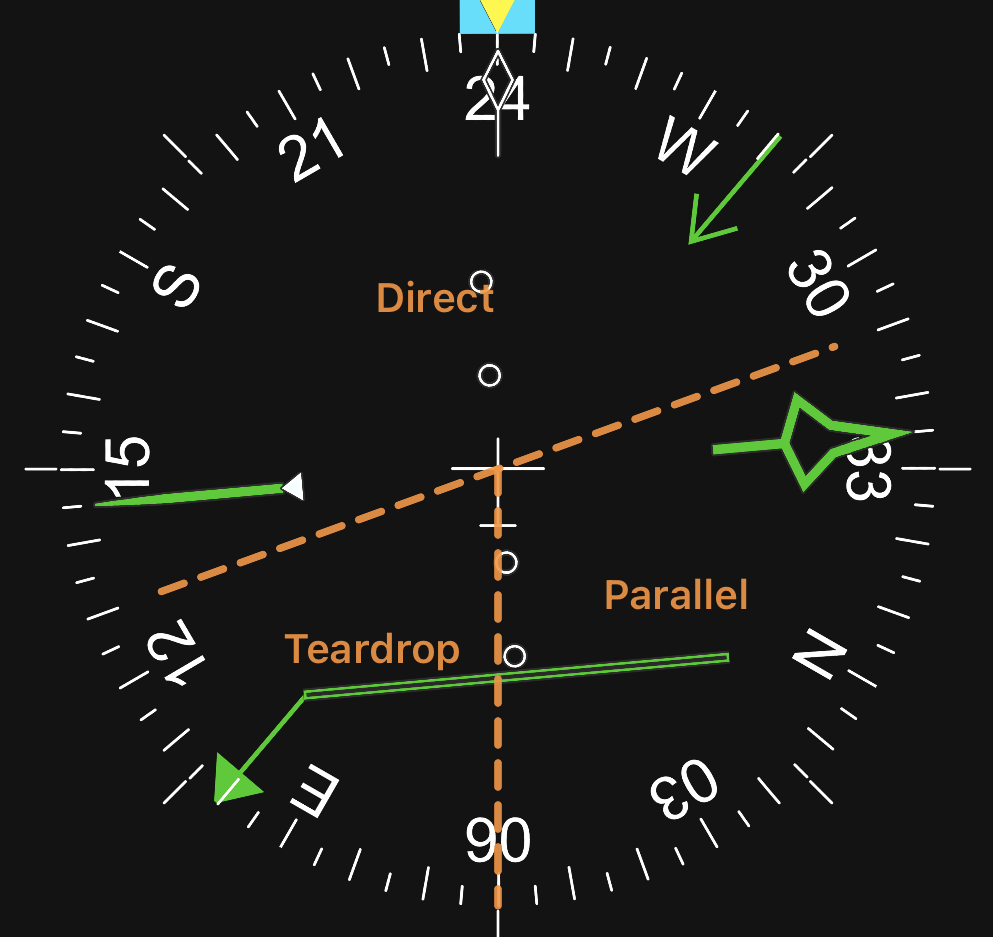
Set the HSI course pointer to the hold’s inbound course when using the instrument sector overlay.
Understand the overlay controls
Sectors off: no holding overlays are shown. Sectors on: entry boundaries appear. Entry guide on: the map also displays the guidance path.
Automatic entry selection uses the aircraft’s approach to the fix. Where available, you can select Direct, Teardrop or Parallel manually to explore the different guidance pictures.
A useful short drill: keep the same hold, reposition the aircraft around the fix and watch the suggested entry change. Then add wind and repeat. Use this to discuss the picture with your instructor.
Configure a holdInstrument sectorsMap guidance
06 / FIX-TO-FIX PRACTICE
Connect the instrument to the target.
Tap the map’s target icon and select Fix.
Enter the target’s radial and DME, or use Random Fix to vary the exercise.
Enable the map and HSI overlays to compare the target with your aircraft’s current position.
Work through the geometry, then reduce the visual aids and try the exercise again.
What does the HSI overlay show?
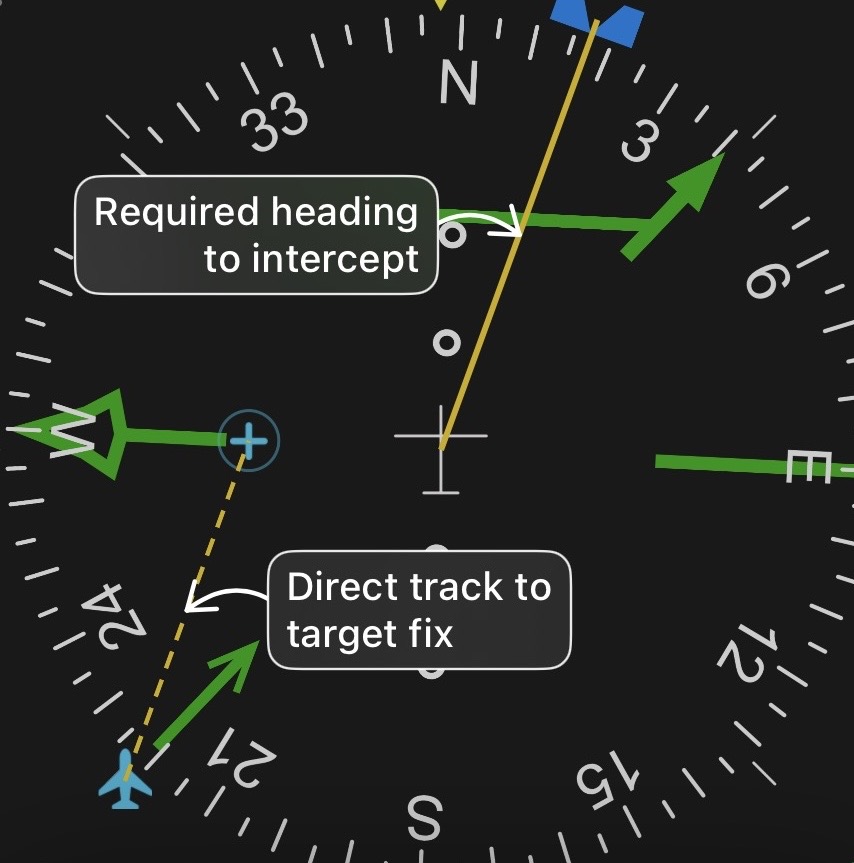
The overlay relates the aircraft’s current bearing and distance to the target radial and distance. The direct and transposed track guides help you visualise the relationship between the two positions. Use the in-app Practice Mode guide for the detailed instrument explanation.
Try a challenge
Start Challenge gives you a random aircraft position, heading and target fix. The map is hidden and a countdown begins. Fly using the instruments; the challenge finishes at your closest passage to the fix.
Scores reflect passing distance and track deviation. The global leaderboard is opt-in; open it in the app to choose a username and see current eligibility.
Set the targetExplore the overlay
07 / TROUBLESHOOTING
Get back to practising.
The aircraft isn’t moving.
Check the speed selector: it must be above zero knots. Increase the speed, then watch the map for movement.
I can’t drag the aircraft.
Turn off the lock control on the left side of the map. Drag with one finger near the aircraft icon.
A needle or the CDI won’t respond.
For drag gestures, open HSI settings and enable the relevant Interact control. For navigation indications, check that the selected plate has the required navaid configured correctly.
My imported plate isn’t visible.
Open Plates and make sure the imported plate is selected. Zoom out if the chart is larger than the current map view. If it is misaligned, edit the plate and check the navaid position and scale.
The map buttons have disappeared.
Tap the eye icon at the top of the map. Review Map Options if long-press show/hide is enabled.
My Pro purchase isn’t restoring.
Use the same Apple Account that made the purchase. Open the upgrade screen, choose Restore Purchases, and check that you have an internet connection.
Where can I find more help?
Open Help in the app for detailed control references and tutorials. You can also visit HSI’s App Store listing for release information and Apple’s purchase-support options.
08 / HSI PRO
Free to explore. Pro when you’re ready.
HSI is free to download. Tutorials and basic features let you get familiar with the app, while some advanced features have daily usage limits.
HSI Pro is an optional one-time in-app purchase, not a subscription. It includes PDF approach plate import, removes Pro-feature timeouts, and unlocks additional practice features. Check the app’s upgrade screen for the current inclusions and price in your region.
Already purchased? Use Restore Purchases on the upgrade screen while signed in with the same Apple Account.